Best Crispy Fried Pickles Recipe for Crunchy Snacking
Best Crispy Fried Pickles Recipe for Crunchy Snacking
By Chef••Air-Fryer and Quick Bites
Looking for the perfect crunchy snack? These crispy fried pickles deliver a tangy, golden bite every time. Get easy steps for the crispiest coating and best dipping sauces. Try this crowd-pleasing recipe today!
Table of Contents
Introduction
What Exactly is Crispy Fried Pickles? A Brief History
The Ingredients You’ll Need
Essential Kitchen Equipment
Step-by-Step Cooking Instructions for Perfect Crispy Fried Pickles
Phase 1: Pickle Prep & Dredge Setup
Phase 2: The Double-Dredge Technique
Phase 3: Frying to Golden Perfection
Chef Chef’s Insider Techniques
Troubleshooting Common Crispy Fried Pickles Issues
Creative Variations to Try
The Perfect Pairings: What to Serve with Crispy Fried Pickles
Storage, Freezing, and Reheating Instructions
Frequently Asked Questions about Crispy Fried Pickles
Can I use pickle spears instead of chips?
What’s the best oil for frying?
Why buttermilk? Can I substitute?
Can I bake these instead of frying?
What’s your favorite dipping sauce?
Conclusion: Your Culinary Adventure Awaits
Introduction
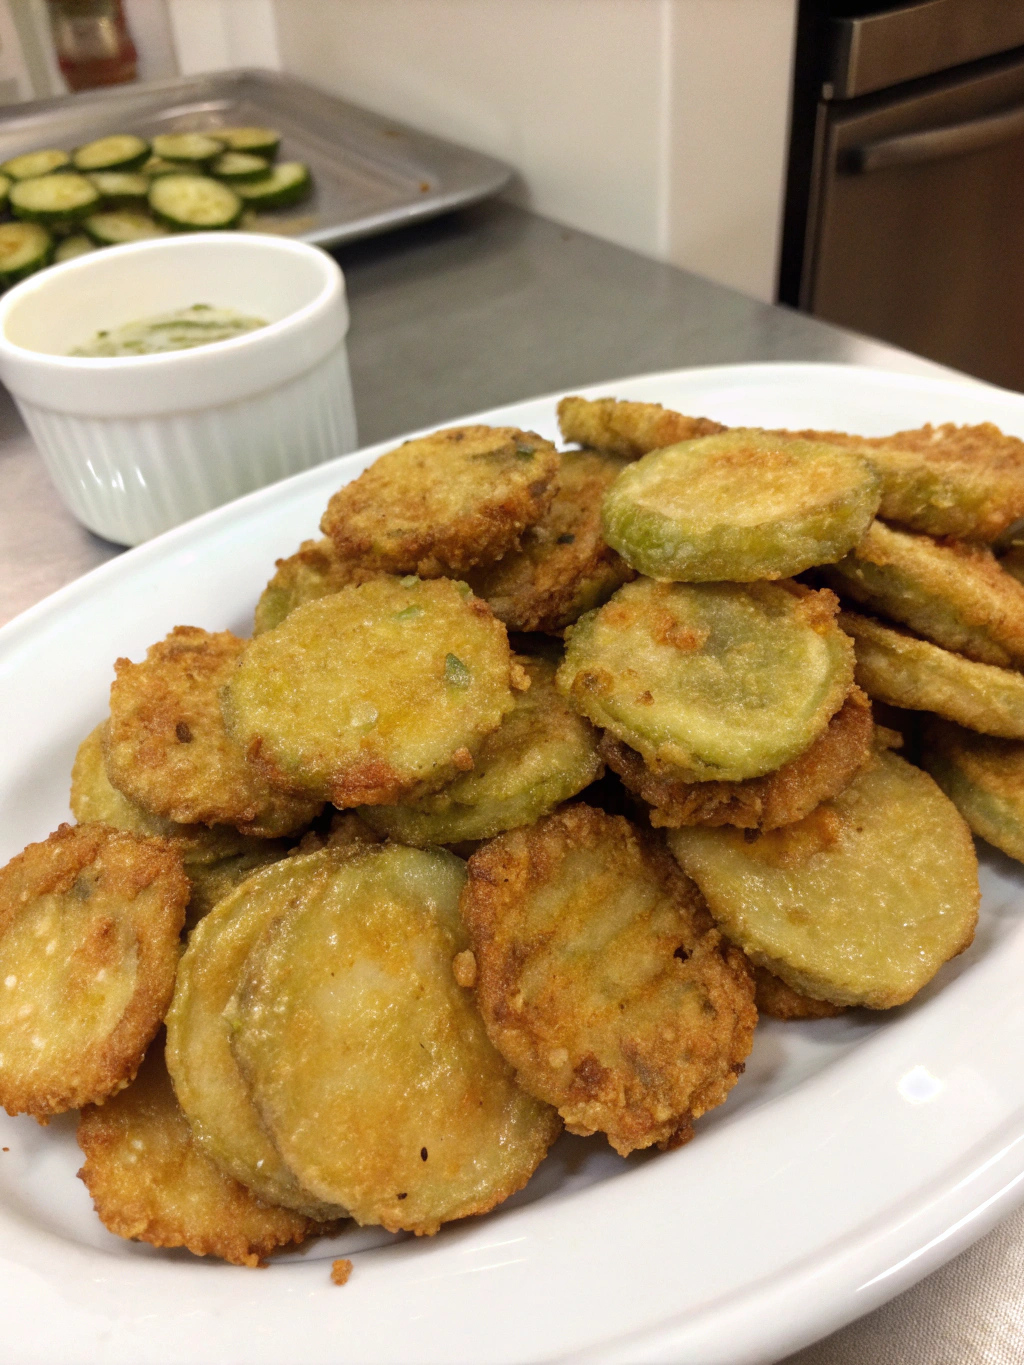
The first time I tasted truly perfect crispy fried pickles was during my culinary school days in New Orleans. I remember sweltering summer afternoons when our instructor, Chef Baptiste, would demonstrate Southern frying techniques. When he pulled those golden, crackling pickle chips from the oil – each one audibly crunchy – I knew I’d found my snacking soulmate. Today, I’m sharing my perfected version of that magic: a crispy fried pickles recipe that delivers shatteringly crisp exteriors while keeping those tangy dill pickle centers juicy. Trust me, once you master this, you’ll never search for “crispy pickles near me” again!
What Exactly is Crispy Fried Pickles? A Brief History
Born in the American South (likely Arkansas or Texas in the 1960s), crispy fried pickles transformed humble dill pickles into crave-worthy bar food through a simple alchemy: briney pickles + seasoned coating + hot oil. Unlike soggy versions, the hallmark of truly great fried dill pickles is their textural contrast – a crispy shell protecting the bright, vinegary punch within. They’ve since become stadium staples and gourmet gastropub fare, proving that sometimes the simplest transformations create legends.
Table of Contents
The Ingredients You’ll Need
For 4 servings (about 48 pickle chips):
32-oz jar dill pickle chips - Thick-cut, extra crisp (I prefer Claussen or Grillo's). Quality Indicator: Pickles should snap when bent, never floppy.
1 cup buttermilk - Full-fat for maximum tang and adhesion
1 cup all-purpose flour - The foundation of our crispy crust
½ cup cornstarch - The SECRET for ultra-crispiness (no sogginess!)
1 cup panko breadcrumbs - For ultimate crunch (regular works too)
2 tsp garlic powder
1 tsp smoked paprika
1 tsp cayenne pepper (optional for heat)
1 tsp black pepper
High-heat oil for frying - Peanut, canola, or vegetable oil (about 4 cups)
Kosher salt - For finishing
Essential Kitchen Equipment
Deep fry thermometer - Critical for maintaining 375°F oil temp
Dutch oven or heavy pot - For stable, even heating
3 shallow bowls - For dredging station setup
Tongs or spider strainer - For safe flipping and removal
Step-by-Step Cooking Instructions for Perfect Crispy Fried Pickles
Phase 1: Pickle Prep & Dredge Setup
Drain pickle chips thoroughly in a colander. Spread them in a single layer on paper towels. Press another layer of paper towels on top to absorb excess moisture – dry pickles = crispier coating!
Set up dredging station: Bowl 1: Flour + cornstarch. Bowl 2: Buttermilk. Bowl 3: Panko, garlic powder, smoked paprika, cayenne (if using), and black pepper – whisk well.
Phase 2: The Double-Dredge Technique
Working in batches, coat pickle chips: First in flour mixture (shake off excess), then dip in buttermilk (let excess drip off), finally press firmly into seasoned panko. Ensure full coverage!
Place coated pickles in a single layer on a parchment-lined tray. Freeze for 15 minutes – this prevents coating slippage during frying.
Phase 3: Frying to Golden Perfection
Heat 3 inches of oil in Dutch oven to 375°F over medium-high heat (use thermometer!).
Fry pickles in batches (don't overcrowd!) for 2-3 minutes until deep golden brown, flipping once with tongs.
Transfer fried pickles to wire rack immediately. Sprinkle lightly with kosher salt while hot.
Chef Chef’s Insider Techniques
Texture Mastery: The cornstarch/flour combo creates a crisp "shell," while freezing sets the coating. Panko adds audible crunch!
Flavor Layering: Seasoning the panko (not just the flour) ensures every bite pops with flavor.
Time-Saving Hack: Prep dredging station while pickles drain. Coat all pickles first, THEN freeze/fry – it’s faster!
Troubleshooting Common Crispy Fried Pickles Issues
Soggy Coating? Oil temp too low. Let it recover to 375°F between batches. Dry pickles better!
Coating Falling Off? Press firmly when breading. Freezing is non-negotiable for adhesion.
Too Salty? Rinse pickles briefly after draining, or use low-sodium pickles. Skip salting after frying.
Creative Variations to Try
Air Fryer Fried Pickles: Spray coated pickles with oil. Air fry at 400°F for 8-10 mins, flipping halfway. (Less crispy but lighter!)
Nashville Hot Style: Toss hot fried pickles in a mix of 2 tbsp melted butter + 1 tbsp cayenne + 1 tsp brown sugar.
Everything Bagel: Replace ¼ cup panko with everything bagel seasoning in dredge.
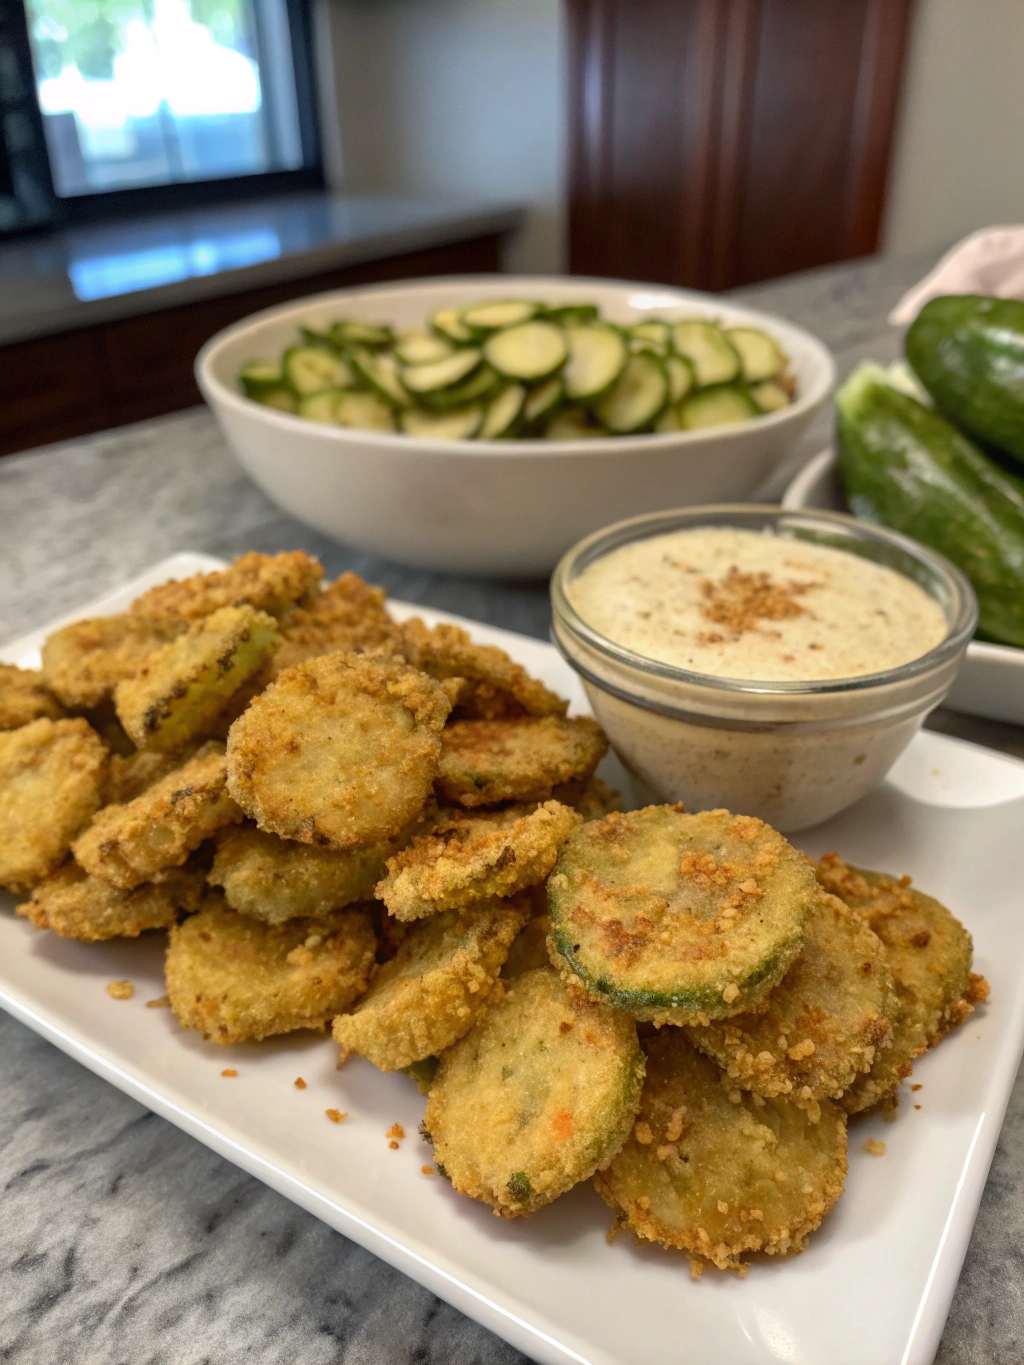
The Perfect Pairings: What to Serve with Crispy Fried Pickles
Homemade fried pickles beat any restaurant version because YOU control the crunch and flavor. This recipe is your gateway to snack-time bliss – whether it’s game day, girls’ night, or just because Tuesday deserves crunch. 👩🍳 Let’s keep cooking together! Follow me, Chef, for daily tips, recipes & meaty inspiration: Instagram{.} • Pinterest{.} • YouTube{.} 👉 For more like this, discover new ideas here